November 11, 2026
Tracking Down a Roof Leak: Where to Look First
By @thegutterguide
Finding the source of a roof leak can feel like a guessing game. Water travels inside the roof deck, along rafters, and across insulation before it finally drips into a living space. By the time you see a water stain on the ceiling, the actual entry point might be several feet away. This makes the search process more like detective work than a simple inspection.
Start with the obvious: the day you notice moisture, go into the attic if you can. Take a flashlight and look for wet insulation, dark trails on the wood, or any daylight showing through the roof deck. Mark the spot where water is entering, then go outside and locate the same area on the roof surface. This gives you a starting point for the outdoor search. For anyone who needs help with persistent roof leaks, this attic-to-roof method is the most reliable first step.
Check the Roof Surface First
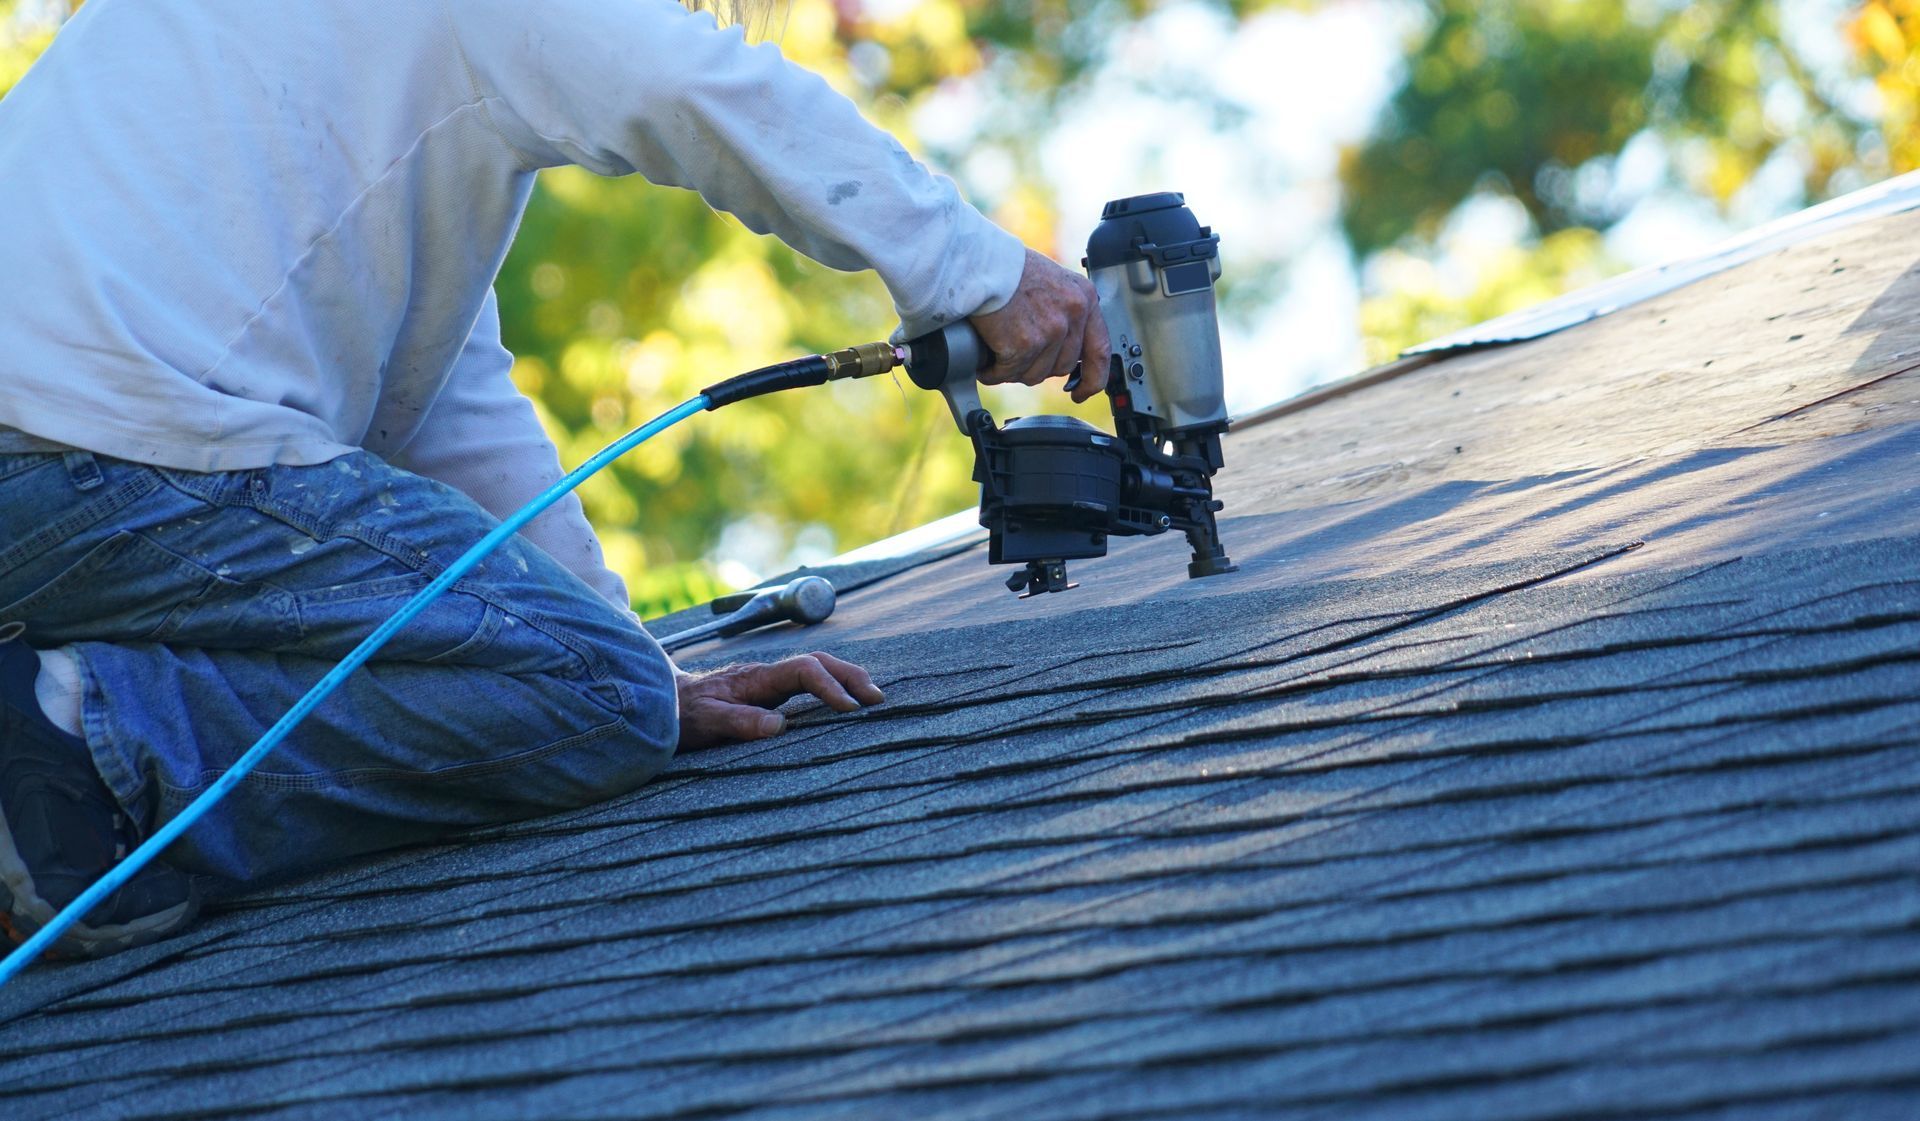
Once you are on the roof, begin at the area you identified from inside and work outward in a widening circle. Look for damaged or missing shingles, cracked flashing, and gaps around roof penetrations. Common problem spots include:
- Chimney flashing that has pulled away or cracked
- Vent pipe boots that are split or loose
- Drip edges that have bent or rusted
- Valleys where two roof planes meet, especially if debris has built up
- Skylight or solar panel mounts with exposed sealant
Water often enters at these points and then runs down the underlayment before finding a way through. Pay special attention to any area where the roofing material changes or where something protrudes through the roof. Roof flashing around chimneys and walls is a frequent culprit because the sealant ages differently than the rest of the roof.
READY ROOFING, LLC is also on Facebook.
Inspect the Roof Deck and Underlayment
If the surface looks intact, the problem could be in the roof deck itself. Old plywood or oriented strand board can rot around fasteners, creating small holes that let water in. Lift a few shingles near the suspected area and check the condition of the underlayment. If the felt or synthetic layer is brittle or torn, water can pass through even when the shingles look fine. This is especially common near the drip edge, where ice and sun exposure accelerate wear.

Also examine the attic insulation directly above the stain. Wet insulation loses its thermal value and can hide the true path of the water. Remove any damp batts or blown-in material so you can see the roof sheathing clearly. If the wood is stained but dry, the leak may have already stopped, but the source still needs repair to prevent future damage.
Look at Flashing and Seals Around Penetrations
Roof penetrations are the most common leak sources. Every pipe, vent, skylight, or chimney creates a break in the roof surface that must be sealed with flashing and caulk. Over time, the sealant hardens and shrinks. Check each penetration systematically:
- Gently press the caulk or boot with a finger. If it feels hard or crumbles, it needs replacement.
- Look for gaps between the flashing and the roof surface. Even a hairline crack can let in stormwater during heavy rain.
- Inspect the base of chimneys and walls for missing step flashing or counter-flashing that has pulled away.
- Check the seal around skylight curbs and solar panel brackets. These areas see thermal movement that can break seals.
If you spot any issues, the repair is usually straightforward: clean the area, apply new sealant, and ensure the flashing is firmly attached. However, if the leak has been going on for a while, moisture may have already caused rot in the sheathing or rafters, which requires more involved work.
Trace the Water Path
When you cannot find an obvious roof defect, the water may be entering far from the stain. Water runs downhill on the underside of the roof deck, so the entry point could be higher up the slope. Follow any dark streaks on the rafters or trusses upward. Check along the ridge vent and around any gable-end walls. Sometimes leaves and debris dam up in a valley, forcing water under the shingles and into the attic. Clearing the debris can solve the leak without any material repair.
Also consider the role of attic condensation. In humid climates, warm moist air from the living space can condense on cold roof sheathing, creating water that looks like a leak. This is more common in winter but can happen any time the attic is not properly ventilated. If you find no roof defect but see persistent moisture, improving attic ventilation and sealing air leaks from below may be the answer.
When the Source Is Hidden
Some leaks are intermittent, appearing only during certain wind directions or rain intensities. In these cases, a simple inspection may not be enough. Simulating rain with a garden hose can help. Have someone spray water on the roof while another person watches inside the attic for drips. Start low and work your way up the slope. This method can pinpoint a tiny gap that only leaks under pressure. Anyone who needs help with persistent roof leaks that resist diagnosis might benefit from this hose test.
If the leak still cannot be found, the problem may be related to the roof's flashing at the wall or chimney, or to a hidden roof penetration that was covered during a previous repair. In such situations, it may be time to call a professional who has experience with complex leak tracing. A roofing contractor can use moisture meters, thermal imaging, and systematic testing to locate the exact entry point without damaging more of the roof than necessary.
Preventing Future Leaks
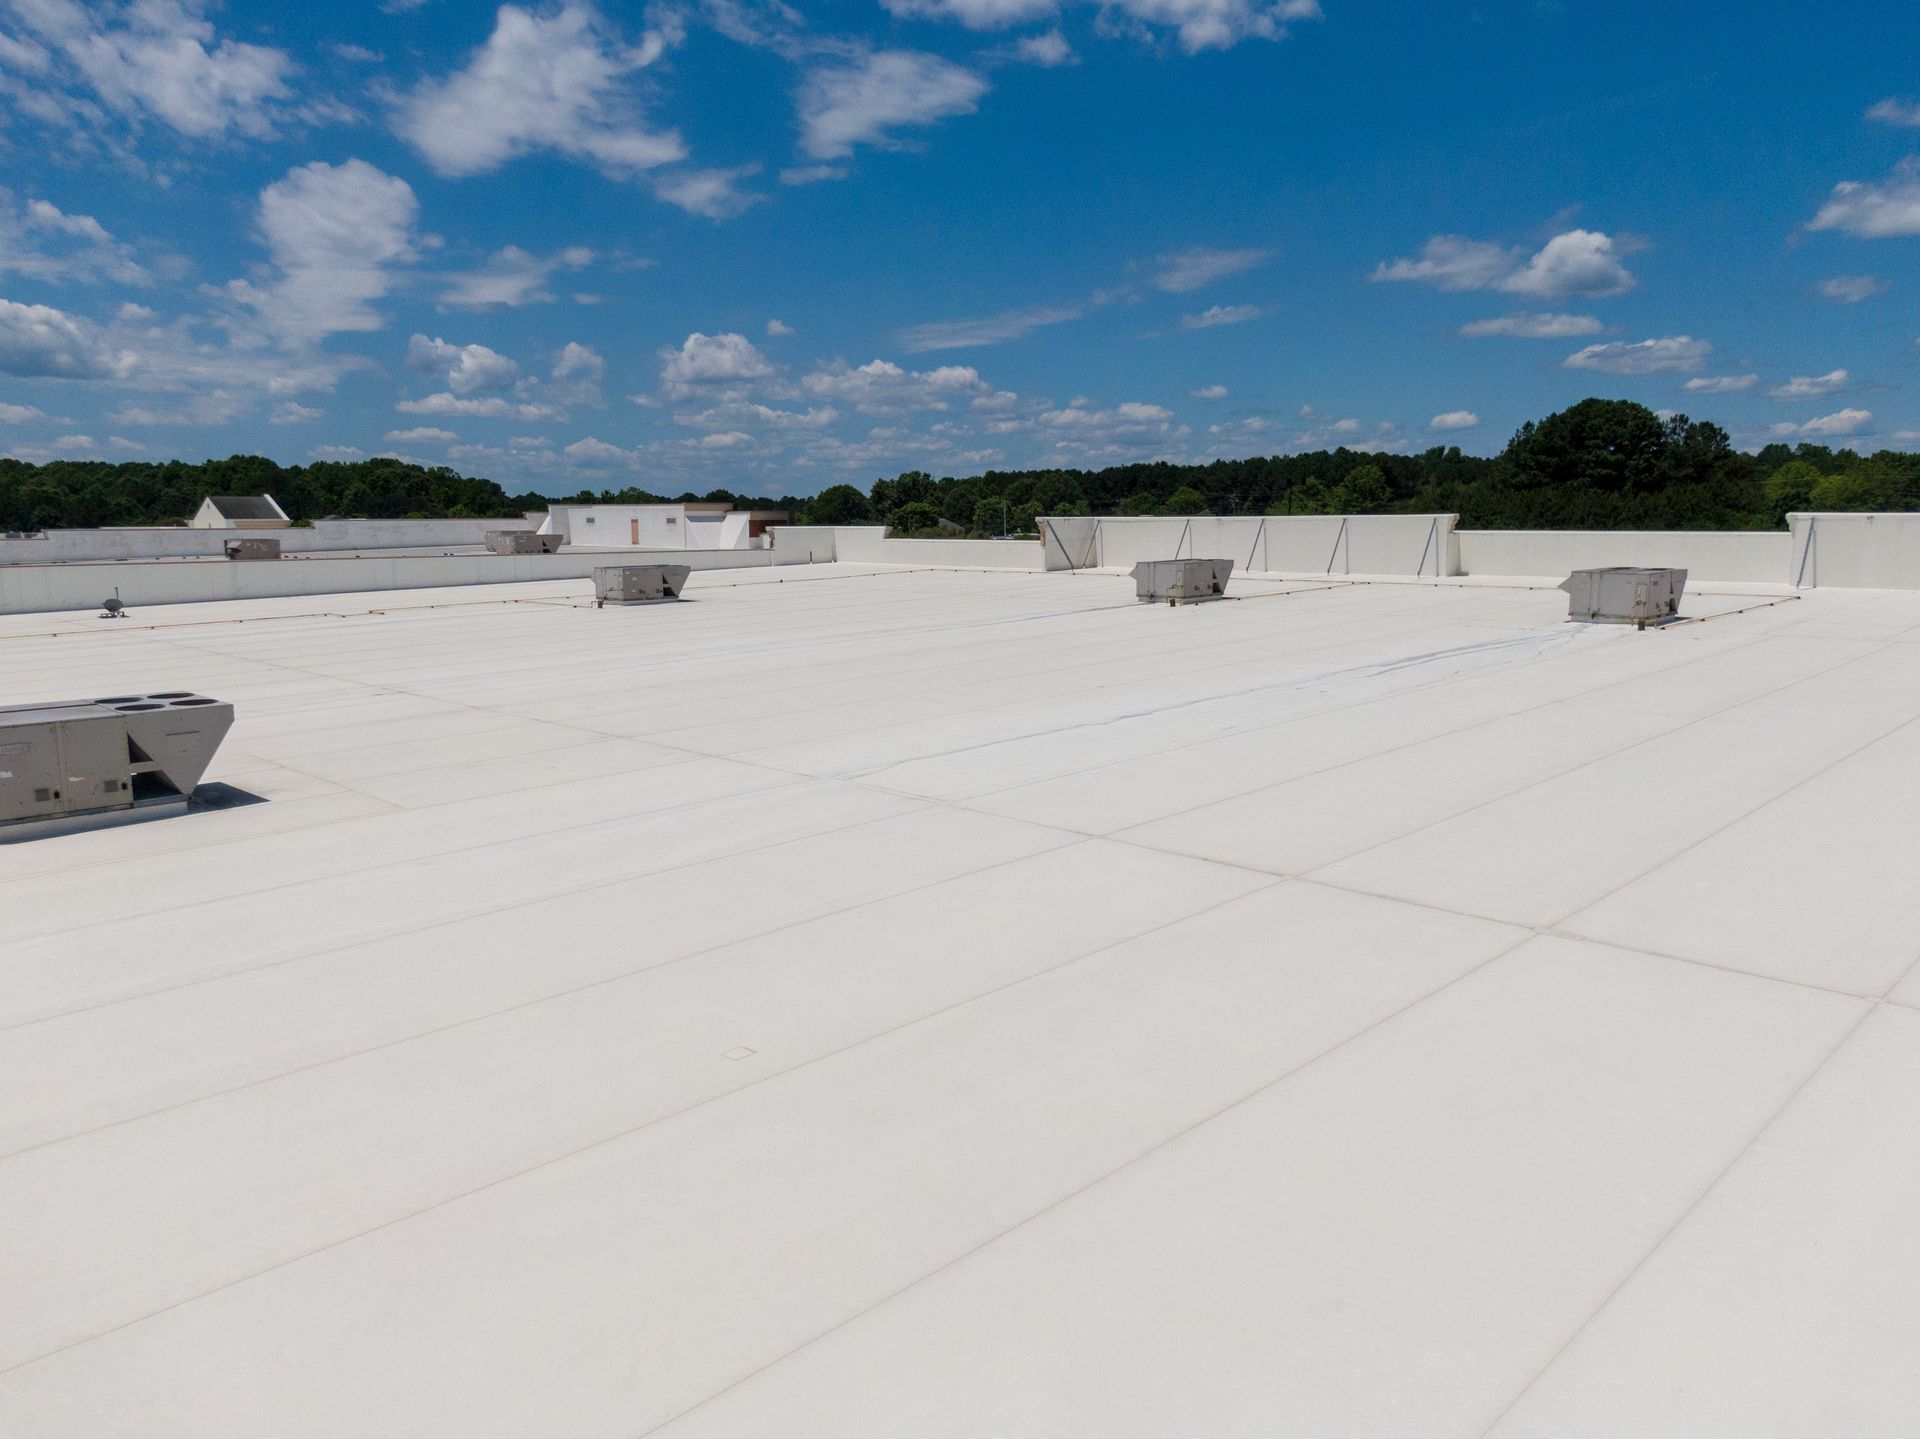
Once the source is found and repaired, take steps to keep the roof in good shape. Regular inspections twice a year, especially after storms, can catch small issues before they become leaks. Keep gutters and downspouts clean so stormwater flows away from the roof edge. Trim overhanging branches that can rub shingles and drop debris. And always replace damaged shingles promptly, because a single missing tab can expose the underlayment to weather.
If the repair involved replacing flashing or resealing penetrations, note the date and type of sealant used. Some sealants last longer than others, and knowing when the work was done helps you plan future maintenance. A small investment in upkeep now can prevent much larger moisture damage down the line.
For property owners in Northern Florida, READY ROOFING, LLC is located at 5105 Philips Hwy Ste 205, Jacksonville, FL 32207, USA, and can be reached at +1 904-404-9849. Ready Roofing provides residential and commercial roof repairs, replacements, inspections, and storm damage restoration across Northern Florida.
❧